Heroku でサイトを立てたので備忘録。
4時間くらい掛かったけれど、ステップ数が多かっただけで、ひとつひとつのステップはすんなり行った気がする。
後で見返すかどうかはわからないけど記録に残しておく。
これをベースに進めた
Heroku初心者がHello, Herokuをしてみる – Qiita
https://qiita.com/arashida/items/b2f2e01259238235e187
手元のLinuxの準備
CentOS8 と VMWare Workstation Player をダウンロードしてインストール。
「後で OS をインストール」を選択する必要があったみたい。
vmware-tools もインストール。
CentOS8をVMwareWorkstationにインストール – Qiita
https://qiita.com/kimo_0tak/items/970a8171ac5524fbd8e3
それから、日本語が入力できなかったため修正。
CentOS って Ubuntu と違って大変なのかな?
dnf -y install libkkc ibus-kkc libkkc-data
漢字入力ができないとき(CentOS 8) – ITわかり隊
https://ufuso.jp/wp/%E6%BC%A2%E5%AD%97%E5%85%A5%E5%8A%9B%E3%81%8C%E3%81%A7%E3%81%8D%E3%81%AA%E3%81%84%E3%81%A8%E3%81%8D%EF%BC%88centos-8%EF%BC%89/
heroku の登録と heroku toolbelt のインストール
公式サイトに従って snap 経由でインストール。
そのために snap を入れる必要があったので、それも公式サイトに従ってインストール。
snap の公式サイトに従って、EPEL を先にインストールした。
ローカルの環境構築
git も入れとけ。
$ sudo yum install -y git
rbenv と ruby も入れとけ。
ruby-build というのも入れた。
CentOs8にRubyをインストール | mebee
https://mebee.info/2019/10/21/post-2458/
g++ がない! と言われたのでインストールした気がする。
$ sudo yum -y install gcc-c++
make がない! とも言われたのでインストールした気がする。
BUILD FAILED (CentOS Linux 8 using ruby-build 20200401-9-g3ef704e)

Inspect or clean up the working tree at /tmp/ruby-build.20200424165738.22294.3GCzrm
Results logged to /tmp/ruby-build.20200424165738.22294.log

Last 10 log lines:
checking for _setjmp as a macro or function... yes
checking for sigsetjmp as a macro or function... no
checking for setjmp type... __builtin_setjmp
checking for prefix of external symbols... NONE
checking pthread.h usability... yes
checking pthread.h presence... yes
checking for pthread.h... yes
checking if make is GNU make... ./configure: line 29167: make: command not found
no
checking for safe null command for make... configure: error: no candidate for safe null command
$ sudo yum install make
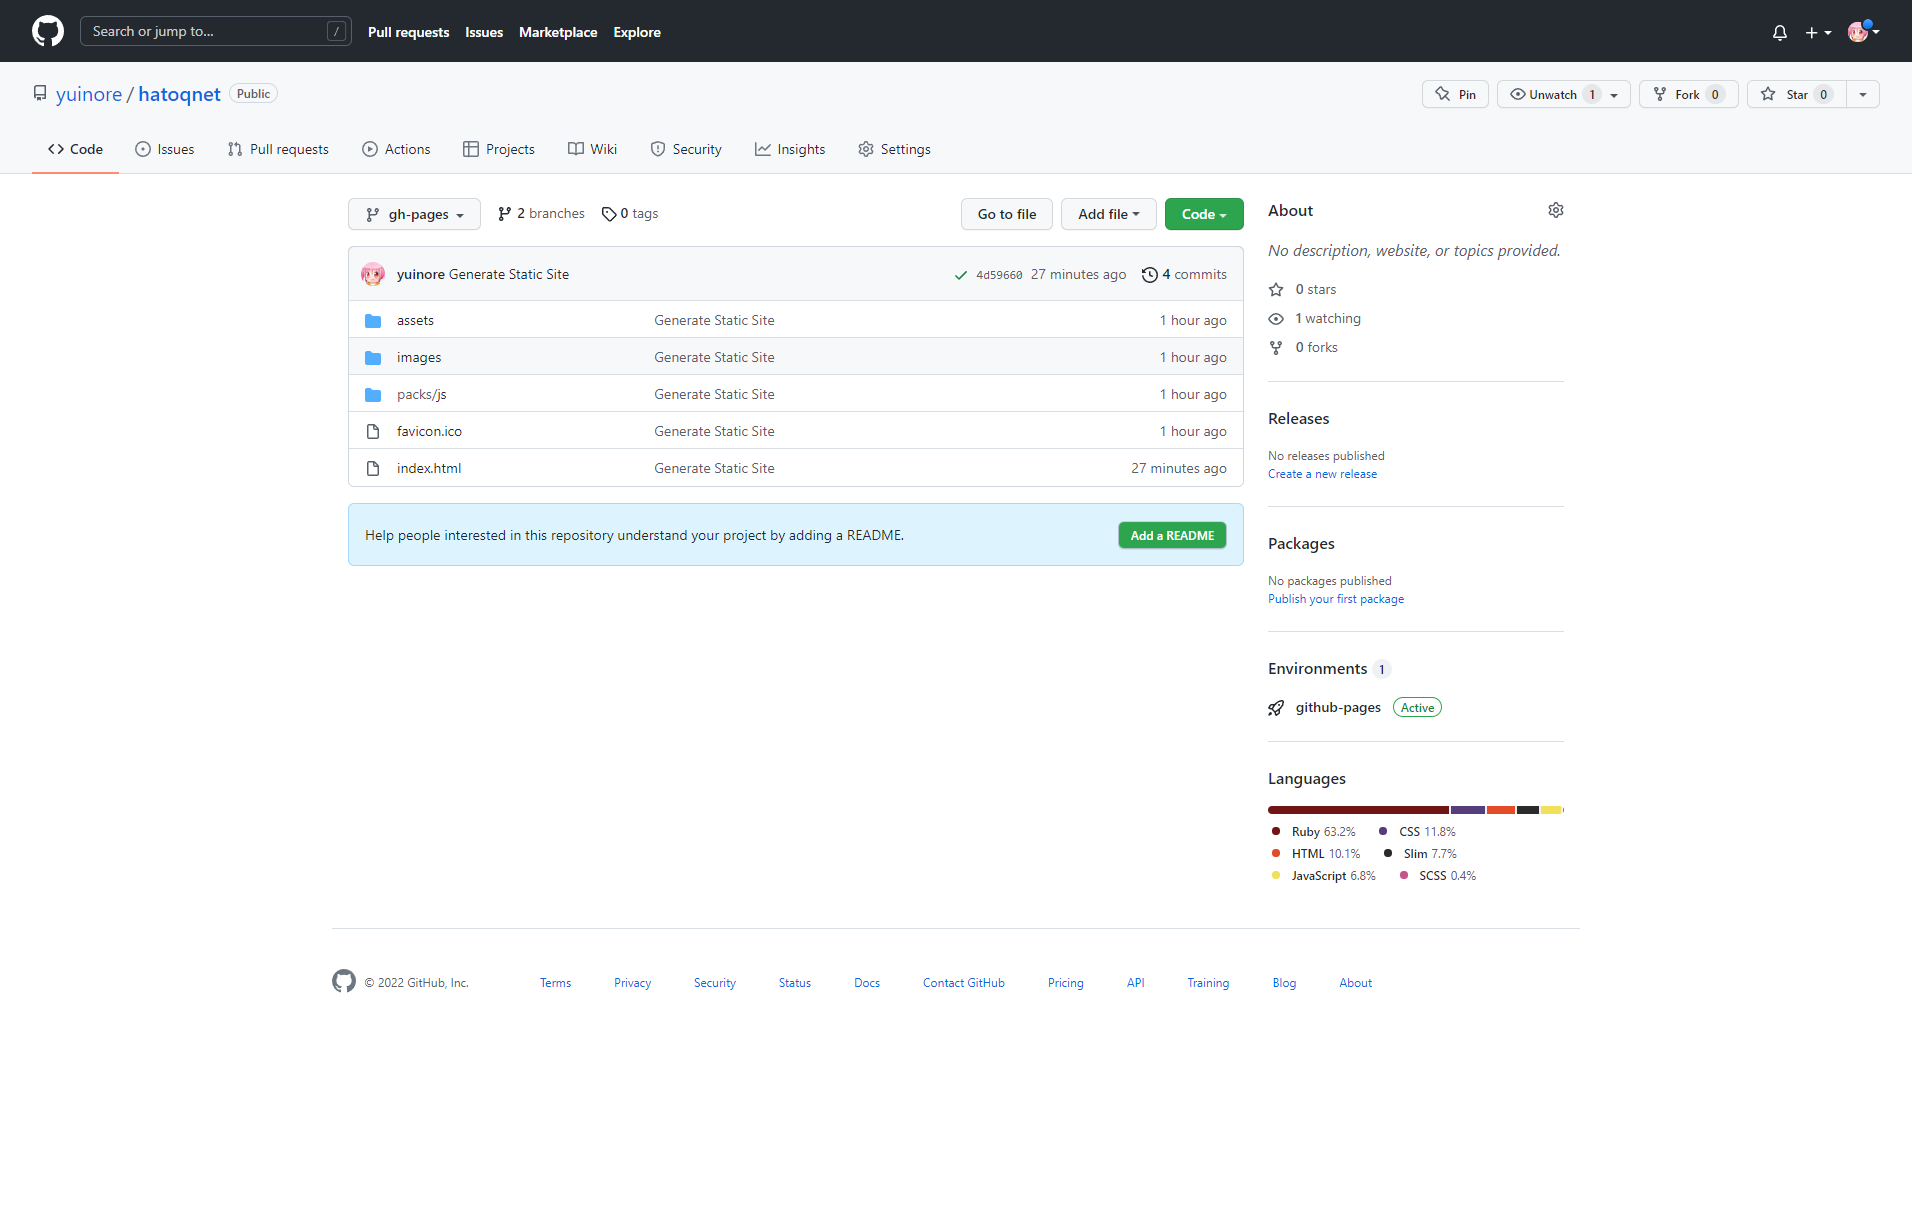
リポジトリの作成
bundler を使う設定でリポジトリを作成する。
新規Railsプロジェクトの作成手順まとめ – Qiita
https://qiita.com/yuitnnn/items/b45bba658d86eabdbb26
rails new コマンドが呪文っぽい。
bundle exec rails new . -B -d mysql --skip-turbolinks --skip-test
Rails環境構築続き
エラーメッセージが出るので、それに従って、
webpacker, yarn, nodejs, mysql あたりもインストール。
素人なので、パッケージ名 + CentOS8 で検索した。
かなりヒットするのでありがたい。
このあたりは Ubuntu よりも情報が多かったりするのだろうか。気のせい?
それから、mysql はインストールしたら起動する必要がある。
いや、当たり前か?
[cocoa@localhost whiteless_works]$ mysql -u root
ERROR 2002 (HY000): Can't connect to local MySQL server through socket '/var/lib/mysql/mysql.sock' (2)
[cocoa@localhost whiteless_works]$ ps aux | grep mysql
cocoa     63041  0.0  0.0  10280   988 pts/0    S+   17:30   0:00 grep --color=auto mysql
[cocoa@localhost whiteless_works]$ service mysqld start
Redirecting to /bin/systemctl start mysqld.service
[cocoa@localhost whiteless_works]$ mysql -u root
Welcome to the MySQL monitor.  Commands end with ; or \g.
Your MySQL connection id is 9
Server version: 8.0.17 Source distribution

Copyright (c) 2000, 2019, Oracle and/or its affiliates. All rights reserved.

Oracle is a registered trademark of Oracle Corporation and/or its
affiliates. Other names may be trademarks of their respective
owners.

Type 'help;' or '\h' for help. Type '\c' to clear the current input statement.

mysql> exit
Bye
その後、DB が無いと怒られるので、DBを作成
$ bundle exec rake db:create
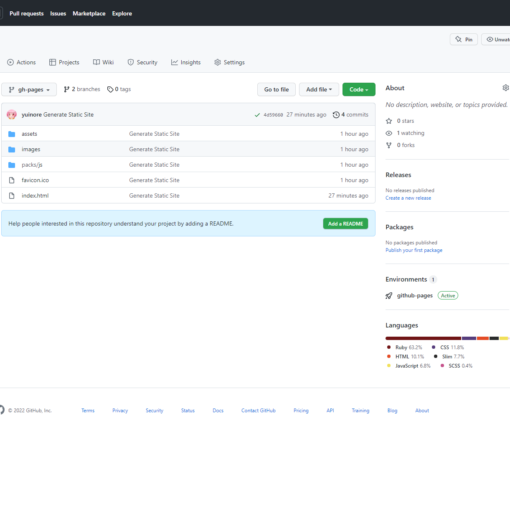
あとは変更のあったファイルをコミットして heroku に push すればデプロイは OK
Herokuで独自ドメイン + SSL 対応
あとはこれに従って独自ドメインに対応。
完全無料っぽいけどクレジットカード登録は必要っぽい。
Heroku側でドメインを登録。
本当にお金かからないのかな?
【完全無料】Herokuで独自ドメイン + HTTPSに対応する【Rails】 https://qiita.com/serinuntius/items/f7f08b2221f5ad068f5d #Qiita
【無料】Cloudflareを使ってHerokuで独自ドメインで運用する方法 https://qiita.com/healing_code/items/0e334606709fb9deae87 #Qiita
24時間掛かったりするらしいと書いてあったけど自分の場合は数時間で見られるようになった。
いかがでしたか?
追伸
MySql2 (ClearDB) の設定追加が必要らしい。
その後 migrate して seed した。
Herokuへのデプロイ方法【Heroku+Rails+MySQL】 https://qiita.com/murakami-mm/items/9587e21fc0ed57c803d0 #Qiita
2021/2/24 追記
heroku-accountsも導入しました。ただしdeprecatedらしいです。
heroku の複数アカウント管理(備忘録) https://qiita.com/kamillle/items/687f8fc0634aef1c11f0 #Qiita
deprecatedなのが原因なのか、$ heroku plugins:install git://github.com/ddollar/heroku-accounts.git だとエラーになってしまいましたが、$ heroku plugins:install heroku-accounts だと上手く行ったみたいです。
2回目以降はmysqlなどのインストールはスキップできますね。
$ bundle init
$ vim Gemfile
$ vim .gitignore # https://www.gitignore.io/api/rails
$ bundle install --path vendor/bundle
$ bundle exec rails new . -B -d mysql --skip-turbolinks --skip-test
Overwrite /home/cocoa/projects/hatoqnet/.gitignore? (enter "h" for help) [Ynaqdhm] n
Overwrite /home/cocoa/projects/hatoqnet/Gemfile? (enter "h" for help) [Ynaqdhm] y
$ bundle install
$ bundle exec rails webpacker:install # Webpacker configuration file not found と怒られたので実行
$ bundle exec rails db:create
$ bundle exec rails s
動作確認できたらherokuにpushします。クレジットカード情報の登録を忘れずに。
$ heroku accounts:set xxxxxxxx
$ heroku git:remote -a yyyyyyyy
$ heroku addons:create cleardb:ignite
$ # DB接続設定の編集
$ # config/environments/production.rb の編集
$ git push heroku master
